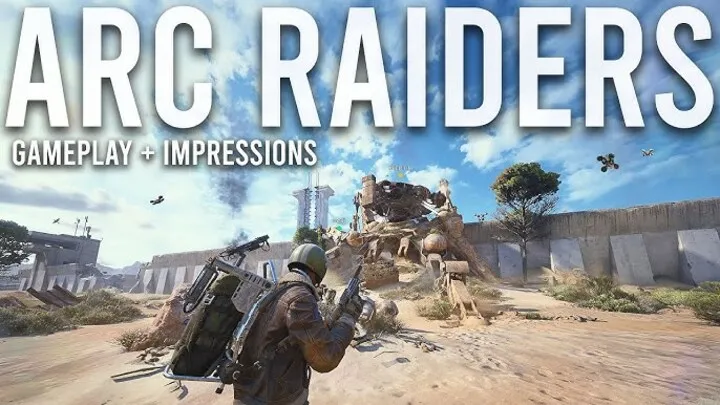
ARC Raiders – Mastering Extraction Combat: A Deep Dive into Surviving Ambush Zones

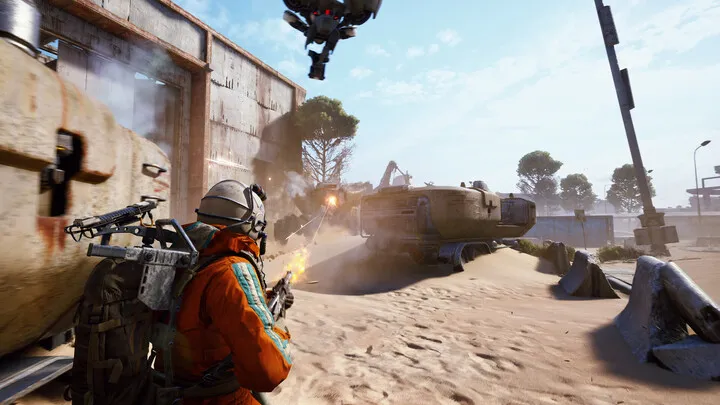
ARC Raiders may look like a standard PvPvE extraction shooter on the surface, but its true identity emerges when you enter the deadliest parts of the map: the Ambush Zones. These dangerous pockets are where ARC machines deploy overwhelming firepower, lock down terrain, and force squads into high-pressure fights.
This article focuses on one specific topic—how to master Ambush Zones in ARC Raiders—covering positioning, survival, team composition, gear optimization, and escape flow. If you consistently fail extractions, Ambush Zones are likely the reason. Let’s break them down.
Understanding ARC Ambush Zones

Ambush Zones are dynamic combat pockets triggered when Raiders step into high-risk territories or disrupt ARC-controlled resources. Their danger is not simply density of enemies but the adaptive behavior of ARC bots. ARC’s AI changes tactics according to terrain, squad spacing, and threat level.
Zones typically activate in valleys, abandoned structures, or open resource fields—places where retreat is difficult. Expect drone chatter, pulsing signals, or sudden atmospheric shifts before enemies surround you. The more loot you carry, the more aggressive the ARC response tends to be.
How ARC AI Behaves in Ambush Zones
ARC enemies operate using a pressure-index system. The longer a squad remains inside the zone, the more the AI escalates.
Early waves test your spacing and situational awareness. As the fight extends, the system introduces suppressor drones, heavy mechanical units, and ranged enforcers designed to corner your squad.
Understanding this escalation pattern gives you a huge advantage: you can predict intervals where disengaging is safest. Many squads die because they push into peak pressure moments instead of resetting during lulls.
Best Team Composition for Surviving Ambush Zones
Not every loadout works well in Ambush Zones. These pockets demand organized roles with clear responsibilities.
Recommended team structure:
• Frontliner (Tank or Controller): Holds sightlines, absorbs pressure, manages initial aggro
• Midliner (Engineer or Utility): Deploys traps, blocks approaches, provides technical support
• Backliner (Marksman or Support): Long-range suppression, heals, and drone control
Squads without a reliable backliner suffer most. ARC snipers and airborne units exploit open sightlines quickly and punish disorganized formations.
Gear Optimization for Ambush Operations
Survival depends heavily on gear designed for sustainability, not just burst damage. ARC Raiders rewards squads that plan for drawn-out engagements.
Essential gear priorities:
• Shock traps for clustering ARC mobs
• Smoke devices for repositioning under fire
• Overclock mods for reducing time-to-kill
• Energy replenish modules for long engagements
New players often carry high-damage weapons while ignoring sustain tools. In Ambush Zones, the ability to maintain uptime is more important than raw firepower.
Positioning Rules That Keep You Alive
Ambush Zones punish sloppy footwork and poor spacing. To survive, apply three core positioning rules:
- Always fight near cover.
- ARC snipers and drones quickly eliminate exposed players.
- Maintain triangle spacing.
- Avoid standing in a straight line. A good triangle prevents flanks and allows cross-support.
- Rotate clockwise.
- Consistent movement gives predictable fallback paths and prevents chaotic collapses.
Even disciplined application of these rules dramatically increases survival rates.
Identifying Escape Windows
Every Ambush Zone has “pressure valleys”—brief moments when ARC waves reset and the fight thins. These windows typically last 10 to 20 seconds.
This is when squads should reposition or fully exit, not reload or loot. The key is to pre-plan the escape route before the Ambush Zone triggers.
Many squads fail because they decide to escape too late—usually after someone is already down.
Coordinated Exfil Execution
Escaping an Ambush Zone is not simply running away. It requires structured movement and coordinated responsibility.

Effective exfil pattern:
• Frontliner moves first, drawing aggro and tanking initial shots
• Backliner suppresses distant threats and watches elevation
• Midliner deploys smokes, slows, tripwires, or distractions behind the team
Avoid sprinting in a tight cluster. Stagger your movement so each teammate can cover another’s escape path.
Recovering After a Failed Ambush Engagement
If your squad is split, downed, or loses gear, your success hinges on how fast you stabilize. Don’t rush back into the zone blindly. ARC reinforcements escalate if you reenter too quickly.
To properly reset:
• Move far enough from the zone to break ARC tracking
• Regenerate stamina, shields, and regroup
• Redistribute gear and ammo
• Use a different approach path if reentering
The biggest mistake players make is reengaging immediately after losing a fight. Ambush Zones rarely get easier—they adapt.
Conclusion
Ambush Zones in ARC Raiders are the core of the game’s tension—tight, escalating battles that test teamwork and resource management. By understanding ARC AI patterns, choosing the right squad composition, maintaining disciplined positioning, preparing proper gear, and recognizing escape windows, you can turn even the deadliest Ambush Zones into controlled victories.
Master these principles and you’ll transform chaotic fights into opportunities for high-tier loot and highly successful extraction runs.